Stressed About Beach Photography!? Let’s Make It Easy and Fun!
How to Get Started with Beach Photography—Even If You Feel Lost | Beginner Photography Guide
Beach photography sounds like a total dream, right?!! Soft golden light, stunning ocean backdrops, and those light & airy portraits that just feel so beautiful! But then… BOOM… you try to capture that perfect shot, and suddenly, it’s not so dreamy after all!!
The light’s too harsh, the wind’s going crazy, and your camera settings!? Not cooperating!! If you’ve ever felt completely lost at the beach, trust me….. you’re not alone! Every great beach photographer (yes, including me!) had those same (or many!!) “uh-oh” moments when they first started….
But here’s the good news…. beach photography doesn’t have to be a struggle!! With the right tips and tricks, you can start capturing stunning, light-filled portraits, even if you’re just starting out! Ready to do this!? Here’s exactly what you need to know to crush it at your next beach session!


Step 1: Choose the Right Time to Shoot
Choosing the right time of day for your beach photoshoot is a total game-changer! Why? Well, let’s talk about light!!
If you’re shooting in the middle of the day, the sun can be harsh, which means overexposed skies, crazy shadows, and squinty clients… Not the vibe you want, right? And let’s not forget, beaches tend to get way more crowded anf HOT during the day.
So, let’s talk about the golden hour! This is the best time for capturing dreamy, light-filled portraits. Early mornings (sunrise) have the quickest, yet softest, calmest vibes…. plus, less wind, which is a huge win! And who doesn’t love the stunning golden light that comes in the evening!!!!? It’s perfect for creating that warm, glowing look we all crave!! This is my favorite and what I truly consider golden hour!
But, here’s the thing: it all depends on your style! If you’re going for soft, airy, and dreamy, you’ll want to capture that golden hour… or learn how to work with any light. If you’re okay with a bit of challenge and want some depth and color, midday can work…. just look for open shade, natural reflectors like piers, dunes, or umbrellas. And I can help you with this!
At the end of the day, it’s all about consistency and what fits your vibe. So, whether you’re chasing that golden light or playing with midday shadows, just make sure to pick the right time for the look you’re after. It’s about working with the light to capture your best photos, every time!
Shooting at sunrise means fewer crowds, softer light, and less wind! Win-win! And it’s always about working with the light to capture your best photos, every time!! But knowing your location matters… trust me! Get started with beach photography.
Best Times to Shoot at the Beach….
Golden Hour – Soft, flattering light (right after sunrise or before sunset)
Cloudy Days – Like a natural softbox…. great for even skin tones
Midday – Toughest light to work with. If you have to shoot, find shade near dunes or piers, you can 100% make this amazing!
Step 2: Master the Right Camera Settings
Camera settings can feel SOOO overwhelming when you’re first starting out. You’ve got ISO, aperture, shutter speed, white balance… and somehow they all work together!!? It’s enough to make your head spin.. Right?!??!
But here’s the thing: you don’t need to know everything about settings to start taking amazing beach portraits. What you DO need is a solid starting point… and that’s exactly what I’m giving you here!!
Common Beginner Struggles:
- Overexposed backgrounds (hello, completely white sky!) Blown out people
- Blurry subjects (because someone’s always moving!) dirty lens, too many distractions
- Colors that don’t match the vibe (the beach is full of natural tones, don’t fight it!), frustration not to know what you are doing!!!
- Not knowing your style or how to stay consistent with your work.
Been there. ALL of that is normal when you’re getting started. But the good news!!? Most of these problems come down to just a few simple setting adjustments.
The Beach Photography Settings You Need:
Here’s what I recommend as your go-to settings when shooting at the beach:
- Shutter Speed: Aim for 1/1000+ to freeze motion, and 1/2500+ if you’re chasing around active kids.
- Aperture: f/2 – f/2.8 (for that dreamy, creamy look) if you’re doing portraits. For group shots, go f/2.0 – f/4.0 TOPS to keep everyone in focus.
- ISO: Keep it at 100-200 on sunny days so you don’t end up with grainy shots.
- White Balance: Set it to 6000K-7000K for those warm, golden beach tones, or use Cloudy mode if you want consistency across your shots. (If you want something more natural, try 5700K-6700K.)
If your sky is looking like a bright white mess (aka blown out), lower the exposure! Just bump it down by 2 stops, expose your subject, and BAM… problem solved! You don’t need to know the fancy terms…. just adjust and focus on your subject!!

Step 3: Choose the Right Lens (And Keep It Simple!)
You DO NOT need to carry around five different lenses to nail a beach shoot. One solid lens is all it takes… if you choose the right one for the job!
After photographing everything from wild toddlers to big extended families on the beach, I’ve learned that simplicity is your best friend. You want a lens that delivers beautiful results and keeps you flexible enough to move, direct, and capture the moment without fiddling with gear the whole time.
Best Lenses for Beach Photography:
- 50mm f/1.2 (or f/1.8 if you’re on a budget): This is my go-to lens for portraits, whether it’s seniors, families, or couples. It gives you that beautiful, dreamy background blur (bokeh) and is perfect for tight shots! So pretty!
- 85mm f/1.2: If you want that gorgeous compression and dreamy background blur for portraits, this one is a total game-changer! Seriously, the photos this lens produces are magic. Perfect for groups of 1-3 people.
- 28-70mm f/2: This lens is a total beast (and heavy!), but it’s super flexible. It’s great for group shots and allows you to zoom in or out quickly. It’s a bit of a workout carrying it around, but the results are totally worth it! LOVE IT!
Lenses to Avoid as a Beginner:
- Super wide-angle lenses: While they’re fun for landscapes, they can distort portraits, which is not ideal for those close-up shots you’re after.
- Telephoto lenses over 200mm: These can be bulky, unnecessary for beach portraits, and make it harder to interact with your clients (plus, they’re a pain to carry).
If you only bring one lens to the beach (and let’s be real, you don’t want to haul a bunch of gear around), the 50mm f/1.2 (or f/1.8) is your best bet. It’s lightweight, versatile, and does amazing things for portraits! LOVEEE!!
You don’t need to drag a ton of fancy lenses to the beach. And whatever you choose, protect it! Avoid switching lenses out on the beach (sand = no fun for your camera) and pick a lens that suits your shoot. For a large family of 10+, that 85mm might not be ideal, but the 50mm or a zoom lens like the 28–70mm will save you from running around too much. Keep it simple, and you’ll be good to go!!!!
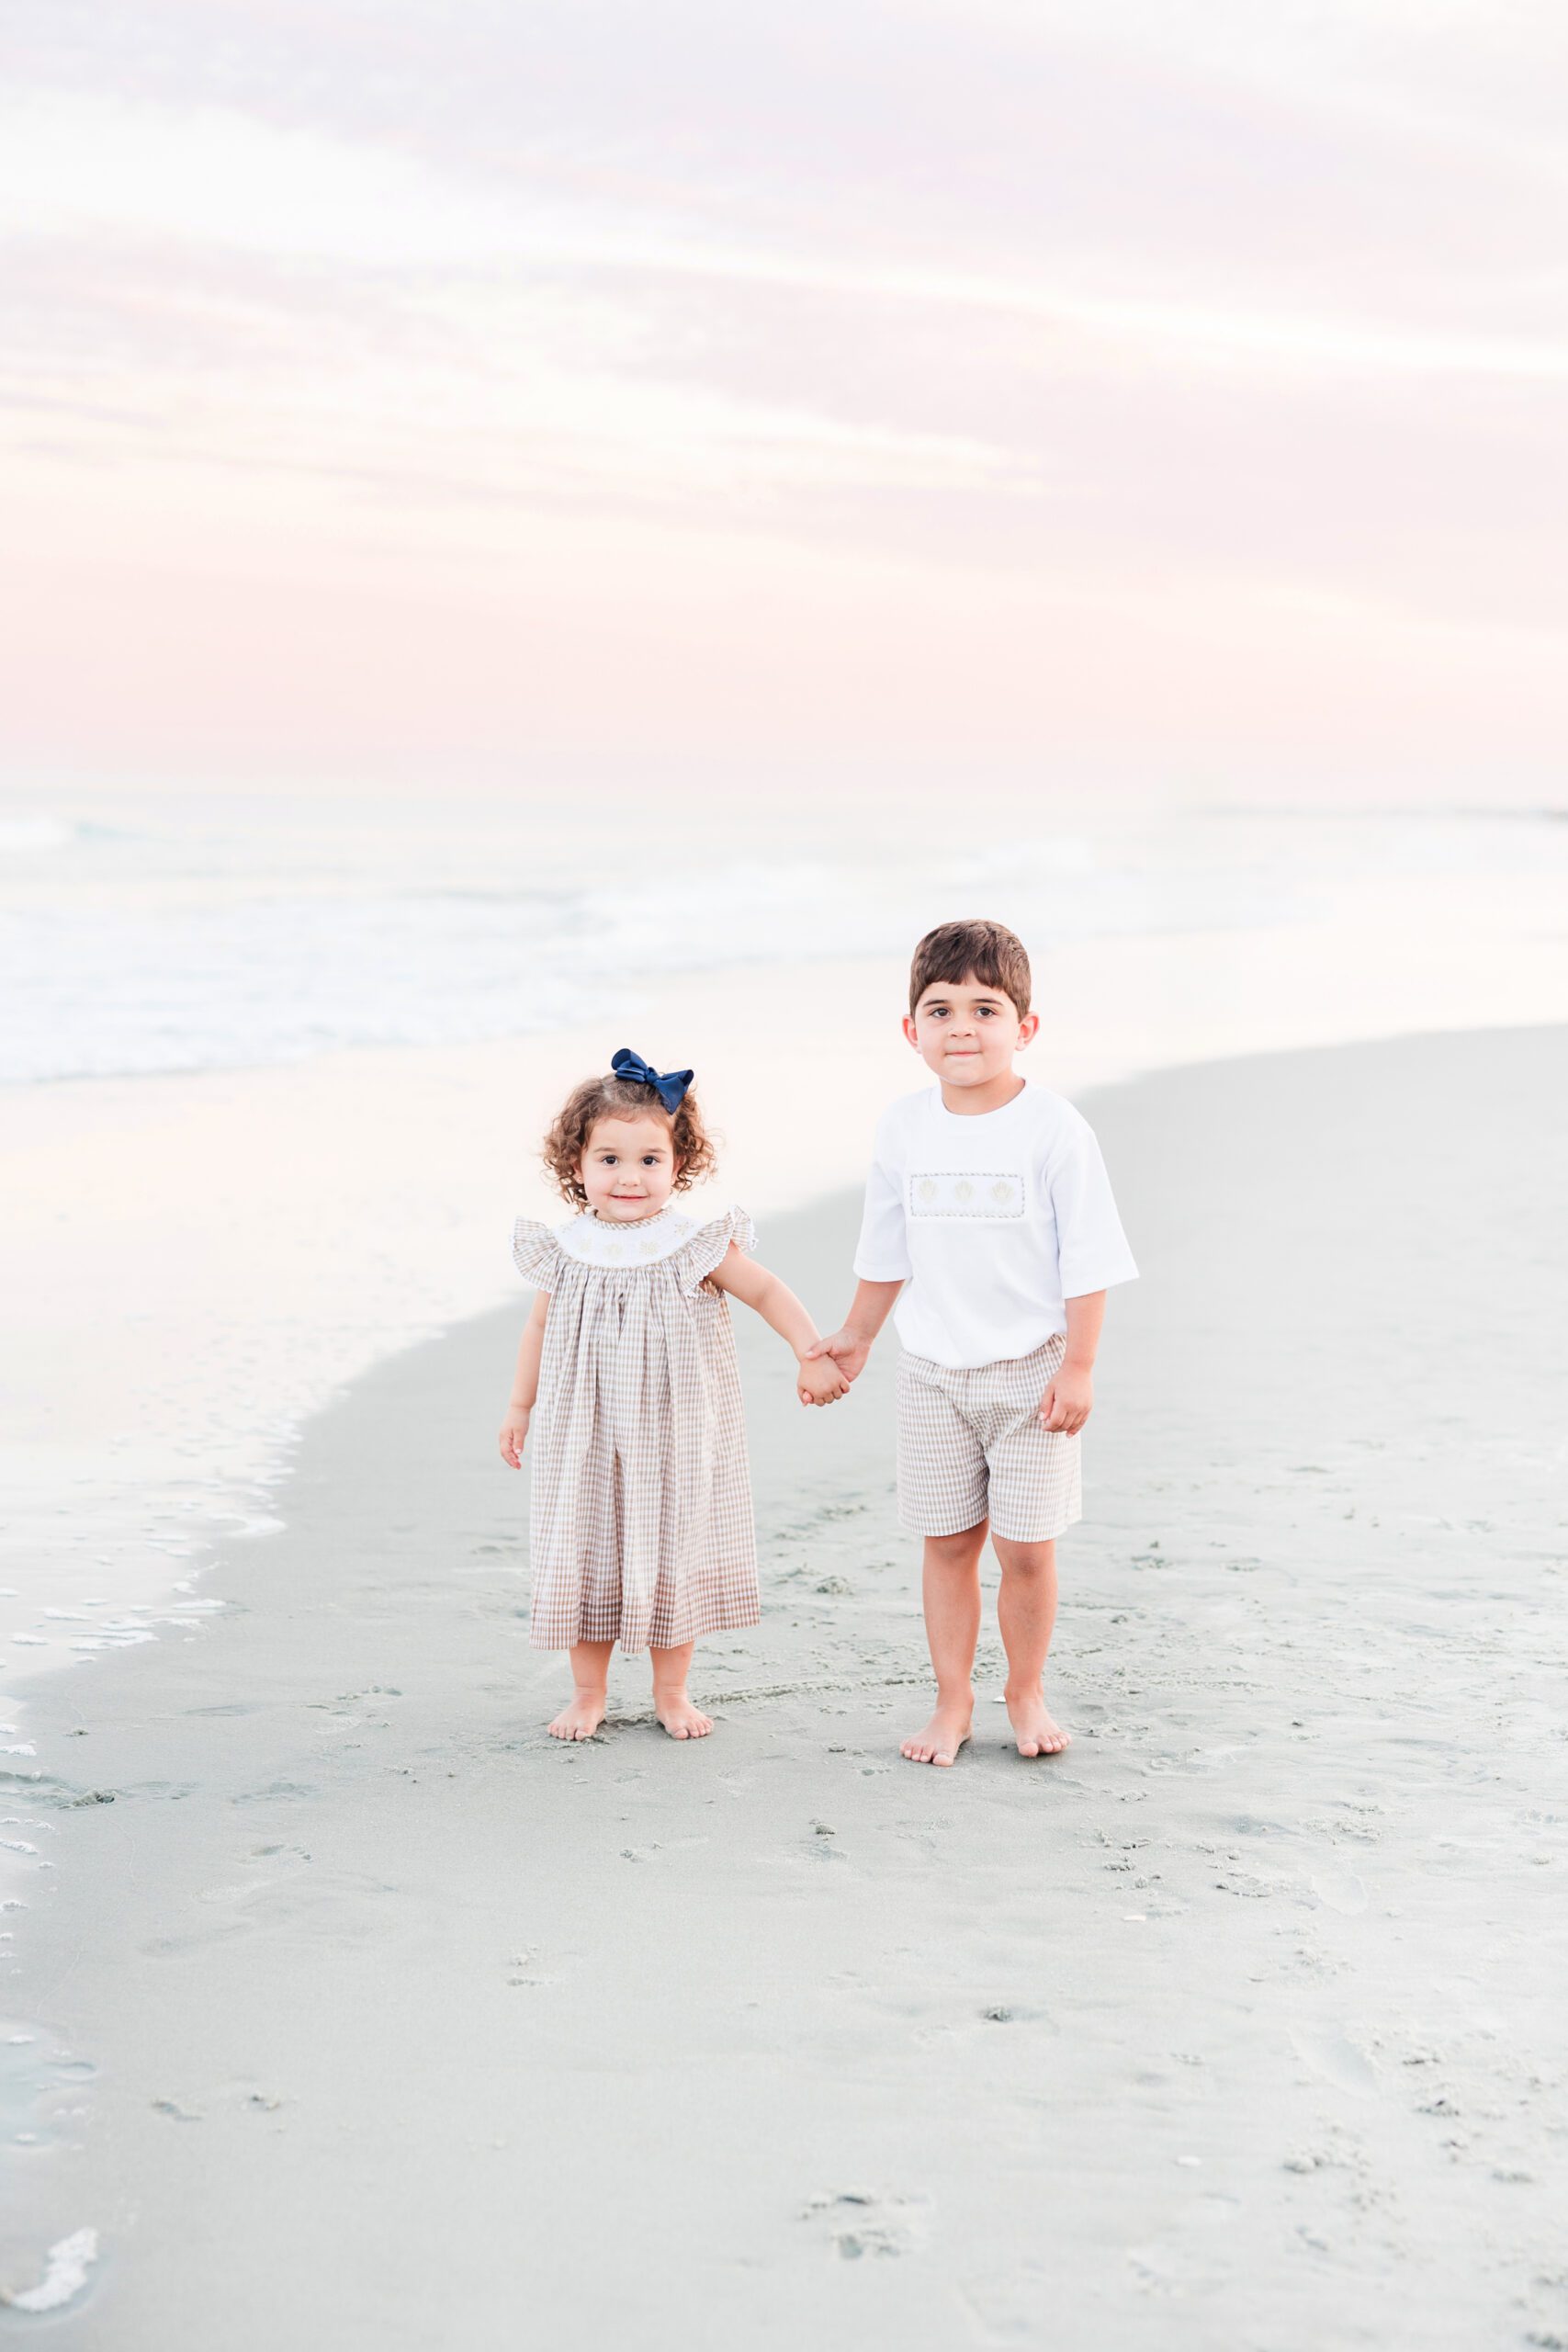
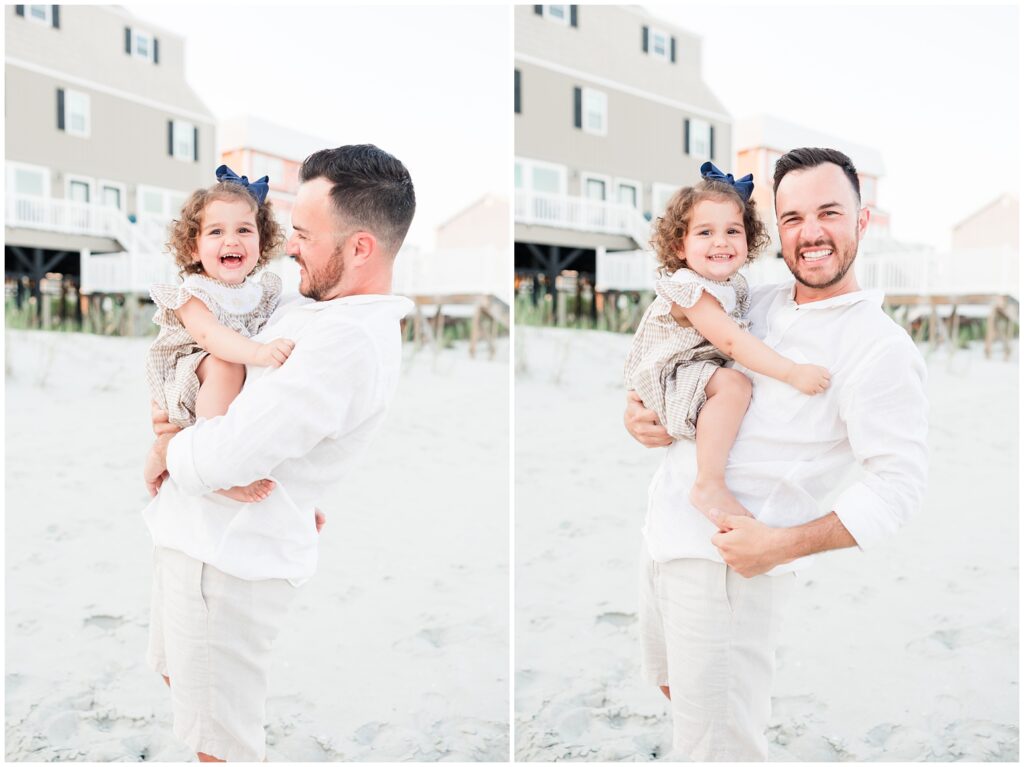
Step 4: Master Simple, Natural Posing Techniques
Posing doesn’t have to be stiff or awkward… especially at the beach, where the whole vibe should feel light, relaxed, and REAL!
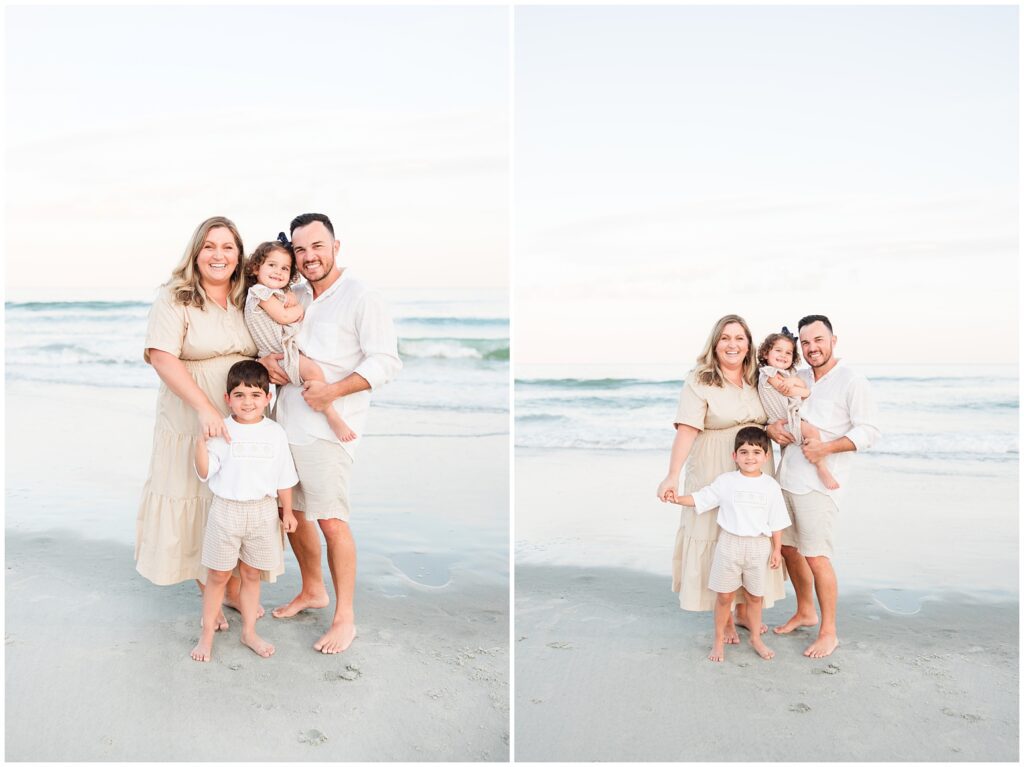
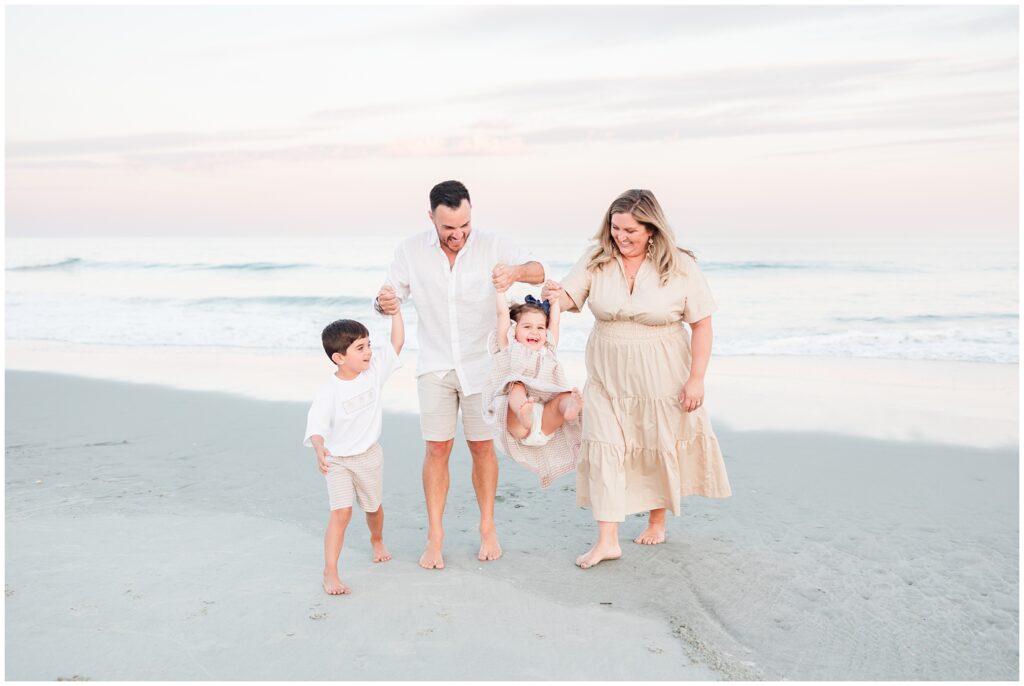
I always start every beach session with the “everyone look and smile” shot. It’s fast, easy, and gets everyone feeling like, “Okay, we got the ‘safe shot.’” Once that’s out of the way, you can move into the good stuff.. those candid, natural, joy-filled moments that make your photos come alive.
Movement is magic!!!! The beach is meant for motion, walking barefoot in the sand, wind in the hair, little ones running wild… and your posing should work with that, not against it.
Why This Matters:
Every beach photoshoot starts with that classic “everyone look and smile” shot, get it out of the way first while everyone’s still happy and cooperating! Start with that smiling shot (it’s quick and easy) and then move into the more fun, relaxed poses. Have a list of core shots in your head and tick them off as you go. This way, you’ll get the essentials and then have time to play!
Stiff, unnatural posing sticks out like a sore thumb… especially on the beach, where the vibe should be relaxed and carefree. Movement-based posing creates those effortless, candid moments that make your photos feel alive.
Easy Posing Tricks for Beginners:
- Start with the large group shots while everyone is happy and cooperative.
- Break it down from there—get shots of smaller family units or just the kids, and wrap up with fun, candid shots.
- Move around to capture a variety of angles and perspectives.
- Have your clients walk along the shore for a relaxed, flowing look.
- Encourage some fun movement—have them play with their dress, run fingers through their hair, or hold hands.
- For kids, let them jump, spin, or play in the sand for those true, authentic expressions.
Use Prompts, Not Poses
One of the best ways to create natural expressions is to give prompts, not directions. Instead of saying “Stand here and smile,” Show them… dont just tell them.
- “Whisper something silly in their ear.”
- “Pretend you’re in a slow-motion race to the water.”
- “Look at each other like you’re about to burst out laughing…. but DON’T laugh yet!”
If posing feels awkward (for you or your clients), try playing some soft music from your phone to create a relaxed mood. It’s a small touch, but it can do wonders for getting everyone to loosen up and have fun!
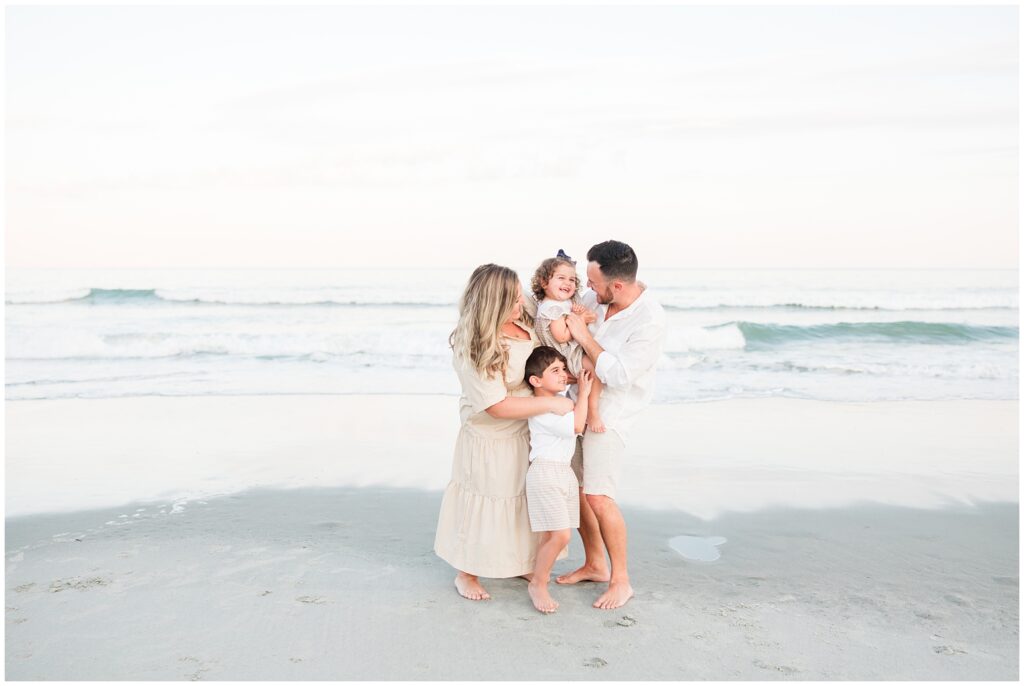
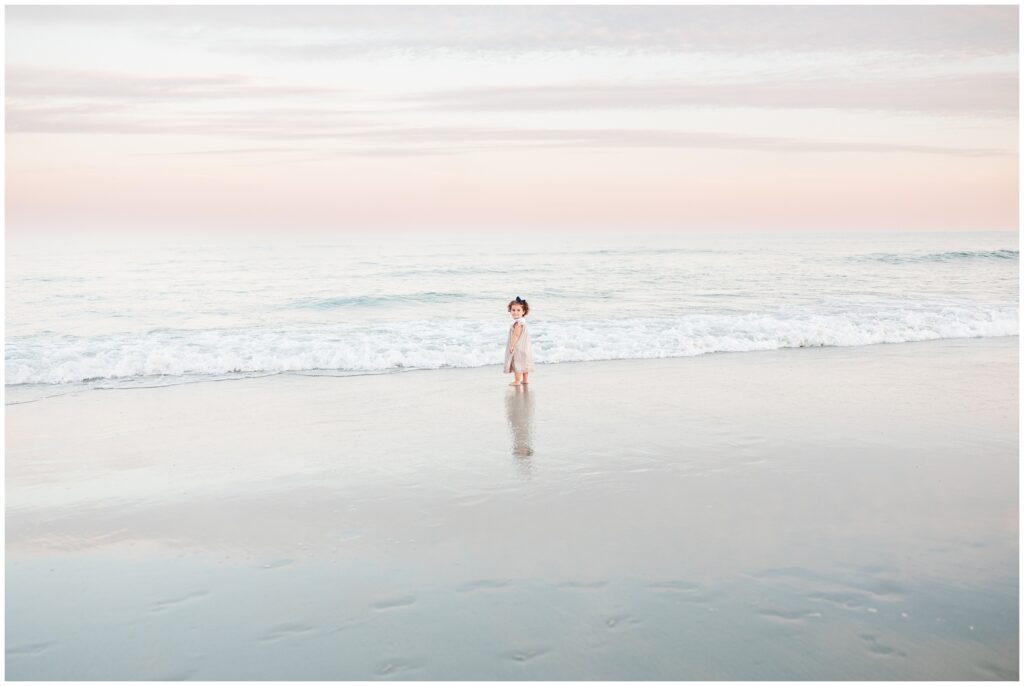
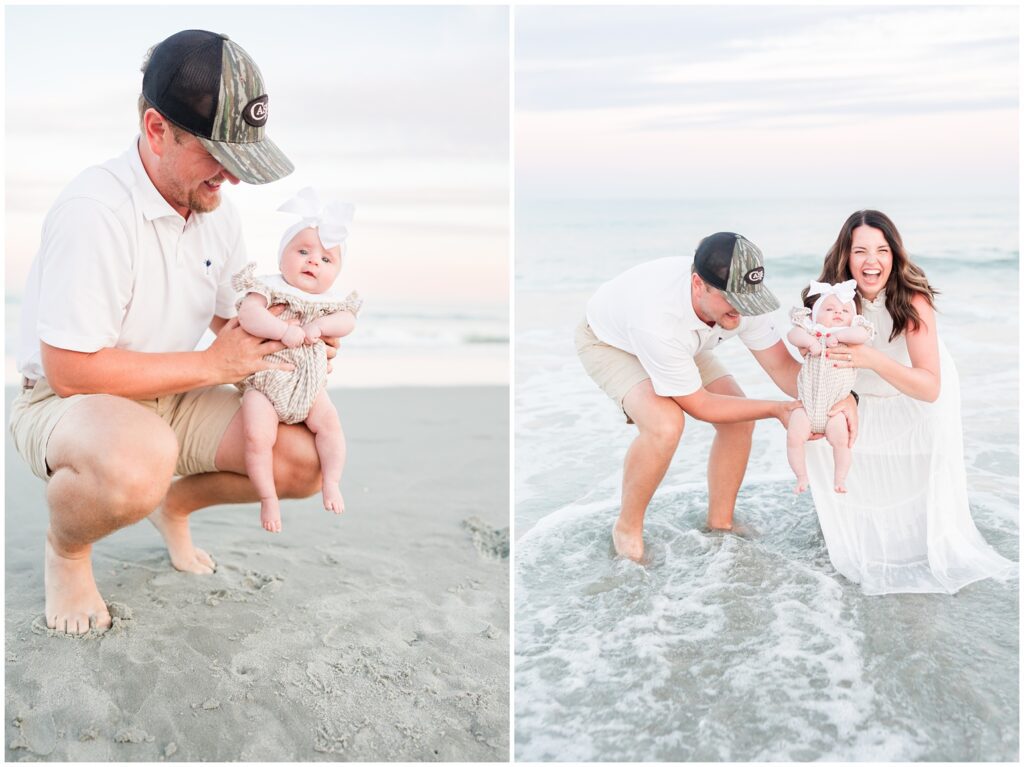
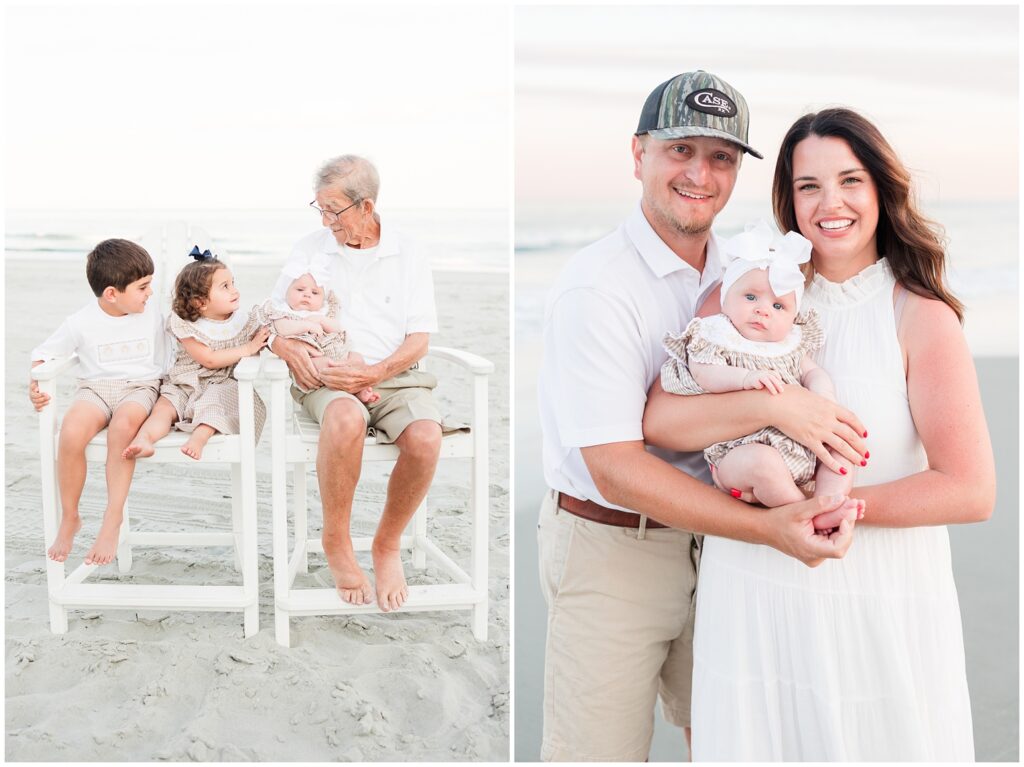
And can we talk about these beautiful family photos in Garden City, Myrtle Beach, South Carolina?! On your next visit.. give me a call!
Wanna learn more!?!? Get started with beach photography! I have a FREE guide that shares so much more amazing info, for FREE!! You can check it out HERE!!
Wanna see more of my beach photography!? Check me out HERE!!


